 (Image via
Creating a high-performance custom PC for retro gaming brings together the reliability of modern hardware and the charm of classic games. As you assemble your system, you can select each component to suit the demands of your favorite vintage titles and achieve smooth, enjoyable gameplay. This hands-on project offers the chance to revisit beloved games from the past while exploring current technology, resulting in a unique gaming experience that blends nostalgia with speed and stability. Building your own machine not only delivers a sense of accomplishment but also ensures every detail matches your personal preferences for retro gaming sessions.
The idea of bringing old-school favorites back using the latest components not only revives cherished memories but also serves as a practical introduction to PC hardware and software. Every step of the journey—from choosing parts to calibrating game settings—enhances your technical skills and personal enjoyment.
Choosing the Right Components
When planning a custom setup for retro gaming, focus on simplicity and compatibility. You do not always need the most cutting-edge parts; instead, select components that provide steady performance with dependable support for older software and emulators. The essential hardware should balance modern efficiency and vintage compatibility.
Consider the following choices when picking your parts:
- CPU: Choose a solid processor like an Intel or AMD model that offers reliable speed without unnecessary extra cores.
- GPU: Select a graphics card that supports multiple display outputs and has broad driver support for older game interfaces.
- RAM: Aim for at least 8GB of memory to keep all your emulators and applications running smoothly.
- Storage: Use a combination of SSD for quick boot times and a larger HDD for media storage.
- Motherboard: Pick one with a good set of ports and expansion slots to accommodate retro peripherals.
- Case: Select a compact, well-ventilated case to improve airflow and simplify cable management.
- Power Supply: Ensure you have a robust and efficient unit that can handle your components without strain.
Remember that compatibility between these components is crucial. Make sure the CPU works with your motherboard, your GPU fits into the case, and your chosen power supply provides enough wattage. Properly matching parts creates a stable and efficient custom build foundation.
When considering performance, focus on components that keep latency low and response times quick. In retro gaming, where timing and precision matter, harmony between parts becomes even more important.
Essential Software and Emulators
The right software breathes life into your custom PC, turning it into a retro gaming center. Choose an operating system that supports your hardware easily and offers extensive support for emulators. You might explore lightweight builds or familiar environments to make setup easier.
Follow these steps to set up emulation software easily:
- Install a stable operating system such as Windows or a popular Linux distribution tailored for multimedia tasks.
- Download emulators for classic consoles like the Nintendo Entertainment System, Sega Genesis, or PlayStation, making sure each one is compatible with your chosen OS.
- Configure front-end launchers, such as RetroArch or similar platforms, which provide a unified interface for various emulators.
- Update software regularly to benefit from performance improvements and bug fixes.
- Back up your configuration files to save time when restoring your system.
This approach not only organizes your workflow but also makes troubleshooting easier. With a structured setup, you can quickly identify and resolve potential issues, keeping your gaming experience smooth and uninterrupted.
Emulators often include customization options to adjust graphics, control layouts, and audio settings. Try different configurations to optimize the output for your display and speakers.
Recommended Parts for a Retro Gaming Custom PC
To help you get started, here’s a curated list of reliable, affordable components ideal for a high-performance retro gaming PC build:
- CPU: AMD Ryzen 5 5600G – Offers strong integrated graphics and excellent emulator performance without needing a discrete GPU.
- GPU (optional): NVIDIA GeForce GTX 1650 Super – Great for older titles and light modern gaming if you want to future-proof.
- Motherboard: ASRock B550M Pro4 – Micro-ATX board with solid I/O, good BIOS support, and compatibility with Ryzen CPUs.
- RAM: Corsair Vengeance LPX 16GB (2x8GB) DDR4-3200 – More than enough memory for emulators and multitasking.
- Storage: Crucial MX500 500GB SSD – Fast boot and load times for emulators, with excellent reliability.
- Power Supply: EVGA 500 W1, 80+ WHITE 500W – Budget-friendly, stable PSU for low-to-mid-range builds.
- Case: NZXT H510 – Sleek design with excellent airflow and cable management support.
These components strike the right balance between performance, price, and compatibility. The build also allows for easy future upgrades should you decide to expand your capabilities.
Assembly and Setup Tips
Start by preparing a clean workspace free of static electricity and clutter. Gather all necessary tools such as screwdrivers and cable ties, which prove invaluable during the build. Consult component manuals to avoid mistakes and gain insights into proper installation procedures.
Follow these assembly steps to reduce risks and increase efficiency:
- Lay out all parts and verify you have every component before starting.
- Secure the CPU lift lever and gently place the processor into the socket, aligning it properly.
- Insert RAM sticks into the recommended slots for dual-channel configuration.
- Mount the motherboard in the case using the proper standoffs to prevent short circuits.
- Install the power supply, paying attention to cable routing to avoid obstructing airflow.
- Double-check every connection before turning on your new system.
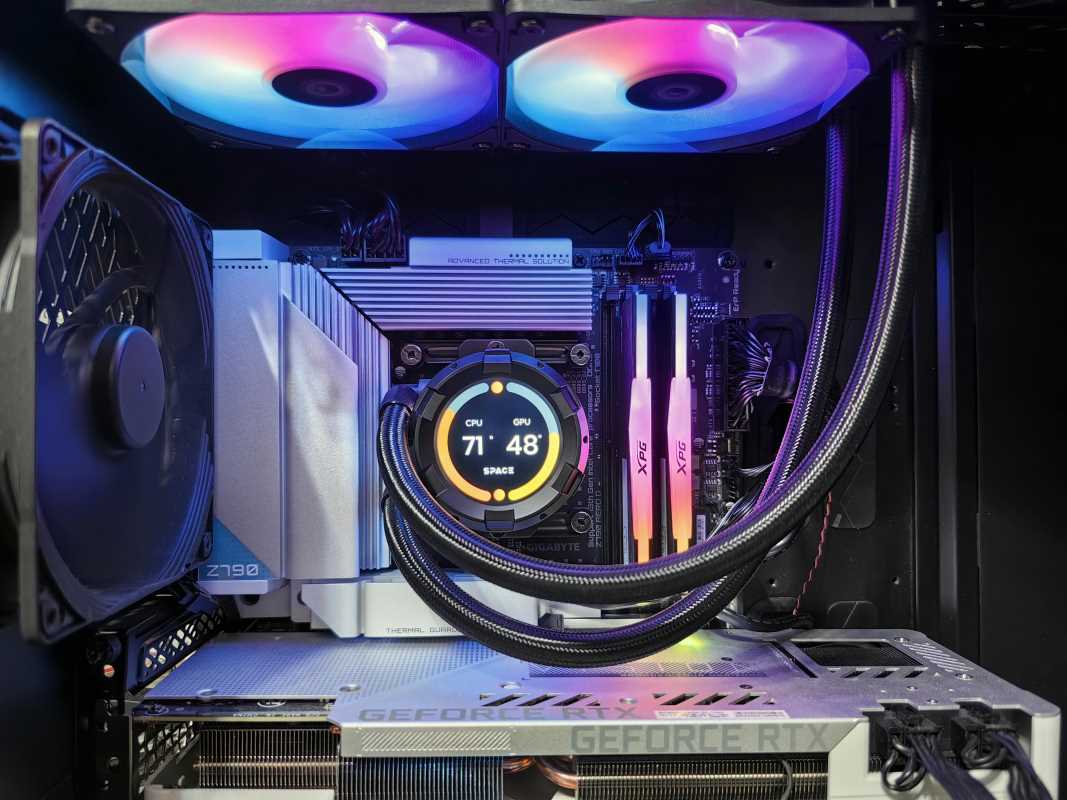
Pay close attention to cable management and cooling setup. Organize cables neatly with ties and brackets to reduce clutter and improve airflow. Consider adding extra fans or liquid cooling if you plan to run resource-heavy emulators or legacy applications for extended periods.
Your careful attention during assembly helps you create a system that performs reliably and looks clean inside the case.
Optimizing for Retro Gaming Performance
Adjust your system settings to ensure a smooth and responsive gaming experience. Change graphics settings within your operating system to lower latency and maintain high frame rates. Use emulator features to match gameplay speed and screen resolution to original specifications.
Learn how to modify configuration files to experiment with settings such as aspect ratios, audio buffering, and controller sensitivity. Taking these steps can make your gaming sessions more enjoyable and true to the original experience on your custom PC. Spending time on optimization significantly improves playability and nostalgia accuracy.
Budgeting and Sourcing Parts
Building a high-performance system does not necessarily require a large budget. Look for good deals on refurbished items, sales events, or trusted online marketplaces. Collecting parts gradually helps spread the cost over time, so you can upgrade as needed while still enjoying retro games.
Use these tips to manage your budget and find parts:
- Set a realistic budget and compare prices from different sellers to stay within it.
- Read user reviews and check technical tests on forums and websites before buying.
- Seek bundle deals that include components and accessories to save money.
- Verify return policies and warranties for each part to protect your investment.
- Focus on reputable retailers and consider second-hand options with positive feedback for retro gaming purposes.
Enjoy building your system and the satisfaction of completing a job well done. With the right guidance and optimization plan, your high-performance build becomes a portal to classic gaming adventures.
Begin your project today and experience the blend of modern technology and nostalgic charm.


.jpeg)