 (Image via
Building your own fishing tackle invites you to explore new techniques and discover what works best for your style on the water. As you design and assemble custom lures or rigs, you gain firsthand knowledge of how each piece affects your success with every cast. This hands-on approach enriches your connection to fishing, making every outing more personal and rewarding. This guide walks you through essential methods and practical tips for crafting tackle that matches your needs, giving you the confidence to try fresh ideas and enjoy greater satisfaction when you land that memorable catch.
By designing your own custom tackle, you immerse yourself in hands-on learning and creativity. This process is as rewarding as it is practical, offering a chance to customize every element to suit specific fishing conditions and target species. Whether you're a weekend enthusiast or a dedicated hobbyist, the methods discussed will help set your work apart from what's available off the shelf.
Essential Tools and Materials for Custom Tackle
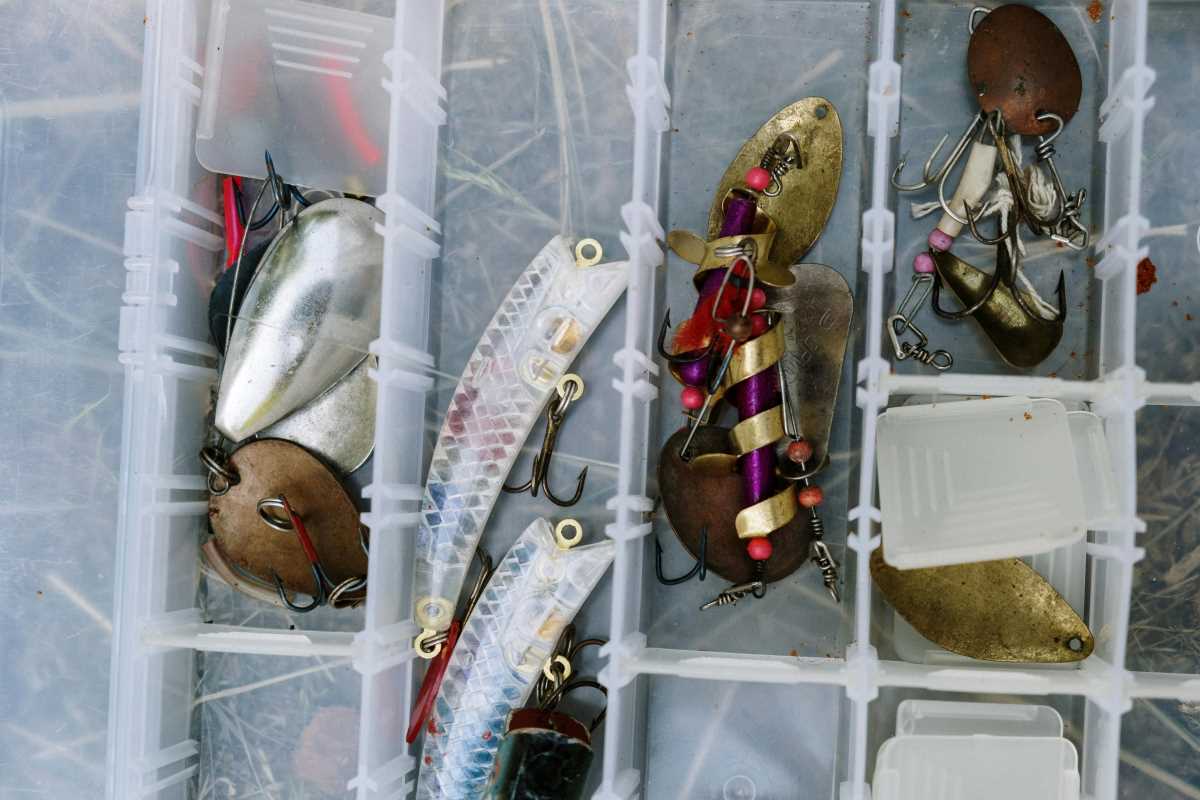
Before you start building your custom lures, it’s important to gather the proper tools and materials. Having the right equipment at your disposal makes the crafting process smoother and improves the quality of your final product. The following items are essential for any tackle-making project:
- A quality pair of pliers and scissors for precise cutting and bending.
- A selection of hooks, split rings, and swivel connectors that meet your design needs.
- Various weights, beads, and skirts to add realism and movement to your lures.
- A small drill and files for creating and smoothing out any miniature details.
- Adhesives and sealants that are waterproof to ensure durability in challenging conditions.
These tools are fundamental when you start experimenting with your designs. The versatility of these instruments allows you to easily adapt your tackle to different fishing environments. Keep your workstation organized and ensure each tool is within reach, making the crafting process efficient and enjoyable.
Step-by-Step Guide to Crafting Your Own Lures
When you create custom lures, following a clear process is as important as your creativity. The step-by-step approach below breaks down the crafting process into manageable parts, helping you stay on track while experimenting with your designs.
Following detailed instructions can turn raw components into a personalized lure. The outlined steps focus on combining traditional methods with innovative techniques that bring lasting improvements to your setup.
- Prepare your base by selecting a lightweight piece of material, such as wood or durable plastic, that offers both buoyancy and flexibility. Carefully shape and sand it to form the perfect profile for movement in water.
- Attach hooks, beads, and other decorative elements systematically. Begin by fixing the hooks securely using split rings; ensure the angle of attachment encourages a natural swimming motion.
- Add weights and skirts to enhance the lure's action. Place weights strategically so that your creation maintains balance during underwater maneuvers and secure skirts with water-resistant glue.
- Incorporate additional details by drilling small holes for extra eyes or other unique features. Use files to smooth out any rough edges and finish with a waterproof sealant to protect your work.
- Perform a final check by testing the lure's movement manually. Make sure every component is tightly fastened. Adjust and replace any elements as necessary to achieve optimal performance.
This practical sequence encourages careful observation at every step, ensuring your lure not only looks appealing but behaves realistically underwater. Try different shapes and sizes to create a variety of options tailored to your fishing style.
Tips for Selecting the Right Components
Picking the correct components for your custom lure is vital for success on the water. Start by evaluating the quality of each part. The best hooks and weights blend well together, giving the lure a natural appearance that appeals to fish instinctively. Use components that can handle the stresses of casting and reeling in a trophy catch. Check each item for durability and performance under real fishing conditions.
Think about the specific fishing environment where you plan to use your creation. For example, if you target larger species in deeper waters, choose heavier weights with strong hooks. Lighter components work well in clearer, calmer conditions. Your custom approach might even lead you to unusual combinations that result in trophy catches. Trying out new combinations will eventually help you understand which pairings lead to the best results over time.
Customization Techniques to Boost Success
Adding your personal touch makes your lure stand out. Tailoring each lure to your preferences involves more than just assembly—it includes putting your signature on every detail. Experiment with painting patterns, adding reflective finishes, or using special coatings to mimic real prey. Every change you make to your fishing tackle brings you closer to a design optimized for action and accuracy.
Your custom designs can include modular pieces that let you swap out parts depending on the target species or water conditions. For example, interchangeable skirts or small noise-making attachments can signal a bite in murky water. Keep a fishing journal to record the results of these modifications, helping you improve your techniques over time and make each outing more successful.
Testing and Fine-Tuning Your Creations
Test your custom tackle in real conditions to ensure it performs well. Start in calm waters, then try tougher spots. Watch how the lure moves—small changes can affect your success.
Adjust weight or hook angles as needed, and track what works. This helps improve performance and sharpens your skills over time.
Each test is a chance to learn. Stay curious, make careful tweaks, and enjoy refining gear that works exactly how you want.


.jpeg)