Engine swaps and upgrades bring a new level of excitement to car customization by enhancing both performance and appearance. These projects start with careful planning and move into the hands-on work of installation, offering a satisfying journey from start to finish. Many people choose engine swaps to gain extra horsepower, while others enjoy the challenge and creativity involved in building something unique. Spending weekends under the hood gives a sense of accomplishment and helps create a stronger connection with your vehicle. Exploring the world of engine upgrades can turn a simple car into a personal statement and make every drive more enjoyable.
This guide breaks down the job into clear steps that turn a complicated upgrade into manageable tasks. With the right mindset, detailed checklists, and a solid understanding of each element involved, you can accomplish a swap that not only meets your performance goals but also displays your craftsmanship.
Understanding Engine Swaps and Upgrades
Engine swaps can revitalize old rides and reinvent performance in familiar chassis. Key aspects to consider include:
- Increasing power and improving fuel efficiency;
- Enhancing handling and responsiveness;
- Ensuring better compatibility with modern tech;
- Creating opportunities to customize your ride uniquely.
Planning Your Project
A solid plan provides the foundation for an upgrade that runs smoothly. Start by outlining your goals and getting a clear picture of your engine's capabilities compared to your vehicle's limitations. Detailed planning helps you avoid costly mistakes, so it’s important to capture every detail from parts compatibility to budget constraints.
Before you begin, use this checklist to ensure you cover the basics:
- Research the compatibility of your chosen engine with your vehicle.
- List all necessary parts, including mounts, wiring, and cooling system components.
- Determine the tools required and confirm access to an adequate workspace.
- Set a realistic timeline, accounting for unexpected delays.
- Prepare for any modifications needed for transmission and electronic components.
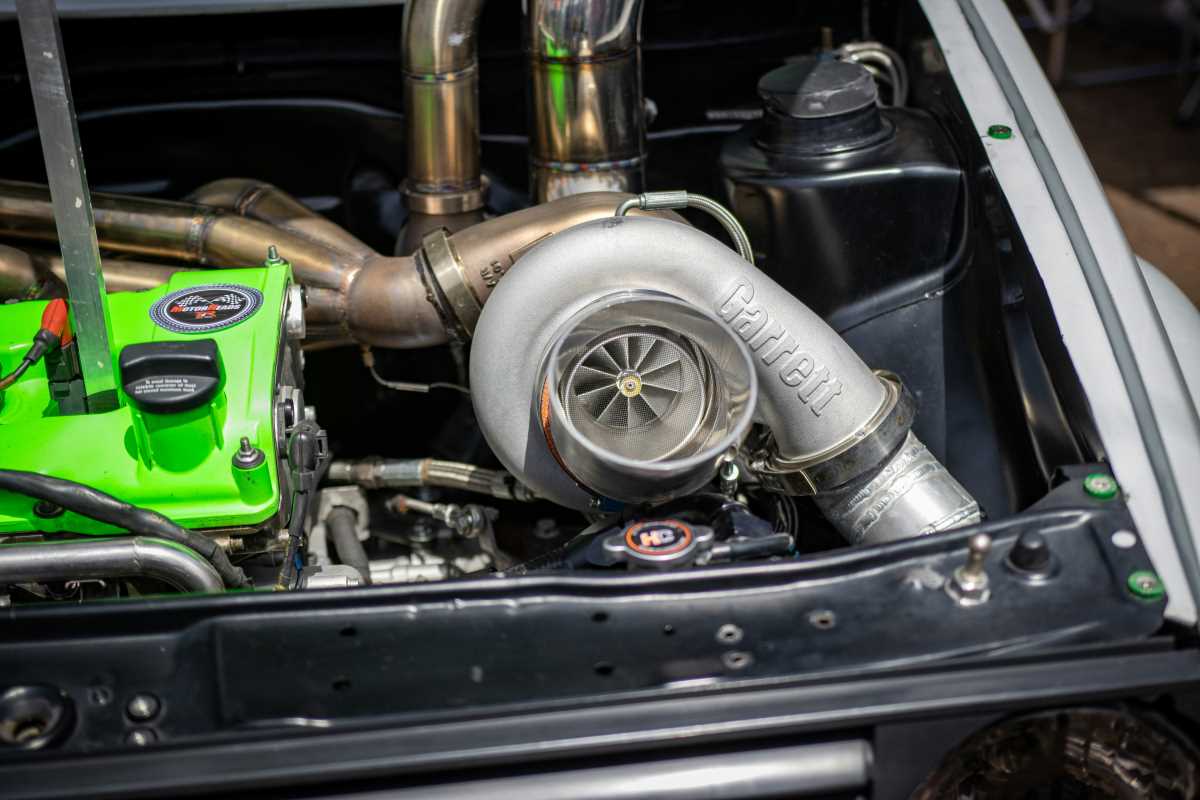
Essential Tools and Parts Needed
Completing an engine swap depends on assembling an effective set of tools and parts before starting the detailed work. Gathering everything in advance will save considerable time and reduce stress when the project heats up.
Below are some must-have items:
- A dependable engine hoist or crane to lift the engine safely.
- Custom engine mounts and brackets to ensure a secure fit.
- A variety of hand tools, including wrenches, ratchets, and screwdrivers.
- Specialized diagnostic tools to monitor engine performance after installation.
- High-quality cleaning supplies to prepare engine bays and remove debris effectively.
Don’t forget to choose quality parts from trusted brands like Bosch or Mahle that guarantee longevity and performance. Investing in quality tools not only makes the job easier but also protects your project from future problems.
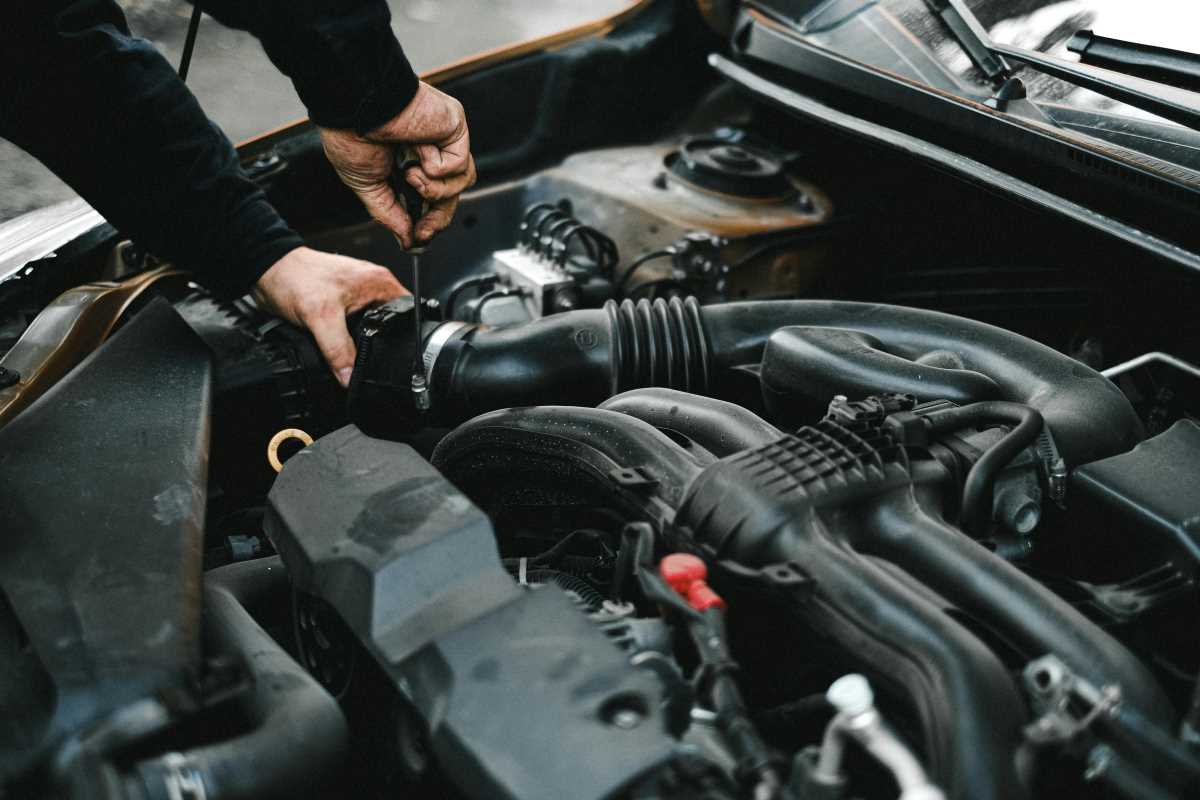
Step-by-Step Guide to a Successful Swap
Start by safely disconnecting all wiring and mounting points from your vehicle. Label all connections carefully as you remove components to prevent confusion during reinstallation. Keep detailed documentation and photograph each step as you remove parts for future reference.
The installation process involves several clear steps:
- Ensure the engine bay is clean and free of contaminants.
- Lift out the old engine using a hoist and set it aside in a safe space.
- Position the new engine gradually, aligning all mounting points precisely.
- Reconnect wiring harnesses, fluid lines, and sensors carefully.
- Fill fluids as needed, tighten all connections, and perform a comprehensive check before starting the engine.
Paying close attention to detail at every stage results in a smoother installation and less time fixing issues afterward. When problems occur, the work you do now will save you many headaches later.
Pitfalls to Avoid and Troubleshooting Tips
Every project of this kind presents its own set of obstacles, but understanding them beforehand gives you a clear advantage. Watch out for these common mistakes:
- Rushing through the process without verifying each connection;
- Overlooking the integration of modern electronics needed for your new engine’s performance;
- Ignoring slight misalignments in engine mounts which can cause vibrations;
- Forgetting to check compatibility between the engine and transmission systems.
When issues happen, consider these troubleshooting methods:
- Revisit your wiring diagrams and labels to confirm every connection is correct.
- Double-check bolt torques and fluid levels before attempting a test run.
- Keep a diagnostic tool ready to quickly identify electronic sensor problems.
- Consult repair manuals or online forums for advice from experienced peers if an unusual issue arises.
Embrace the challenge and experience your vehicle’s enhanced performance.